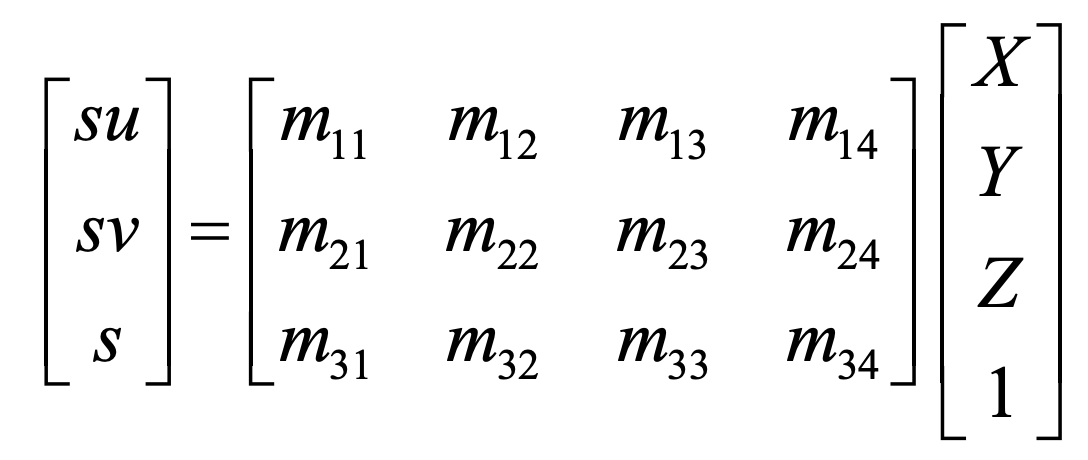
Calibrated Matrix Equation
Name: Brandon Wong
In this section I projected a 3d cube onto a short video by identifying keypoints to track throughout the video to define a world space that could be used to figure out where the cube should be in each frome in the image space.
For the setup, I just took a 30 second video of a shoebox with a grid on it so that keypoints could be identified and tracked on it.
Original Video
After taking the video, I selected keypoints in the first frame of the video based on the marked grid I made on the box plus the corners. Once the image space coordinates and their respective world coordinates based on a 3d world space with the origin, (0, 0, 0) being at the bottom left corner of the papaer, were selected, a medianflow tracker was used for each point in the image space to find each point in the next frame's image space, allowing the points coordinates in each frame to be found and saved. The coordinates for points 7, 17, 19, 30, 33, 35 were found to be innacurate, so they were left out leaving 30 points to find the conversion matrix between world space and image space for. The video's frames per second were doubled to halve the length of the video.
Box with Points Video
One the image points for each image had been obtained, I could use least squares to obtain a conversion matrix from 4D world space to 3D image point space, which could then be converted into the 2D image space by dividing the x and y values by the z values. By calibrating the camera by finding such a conversion matrix from the world space to each individual image, the location of any point added to the world space could be found in each image by multiplying it by each images calibration matrix. Both the standard form of the matrix and the form used with least squares to find the values of the matrix are shown below.
Calibrated Matrix Equation
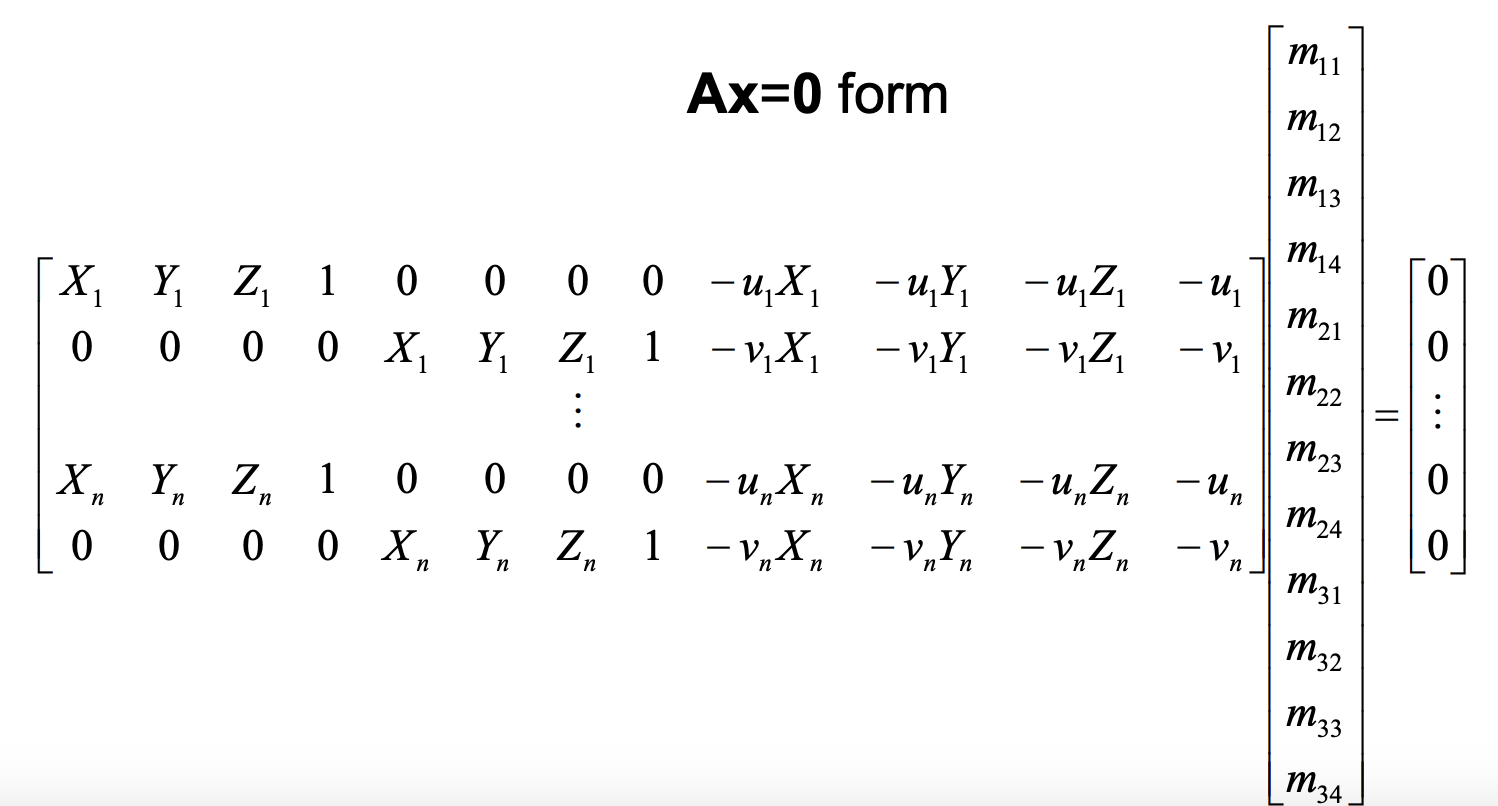
Form to Solve Using Least Squares
The last step is to take the corner points of some cube in the world space and find where they would be in each individual image using the matrices for each image obtained in the last part. These corners could then be used to draw each cube in each image, resulting in a video with an additional cube in it shown below. The video's frames per second were doubled to halve the length of the video.
Box with Points Video
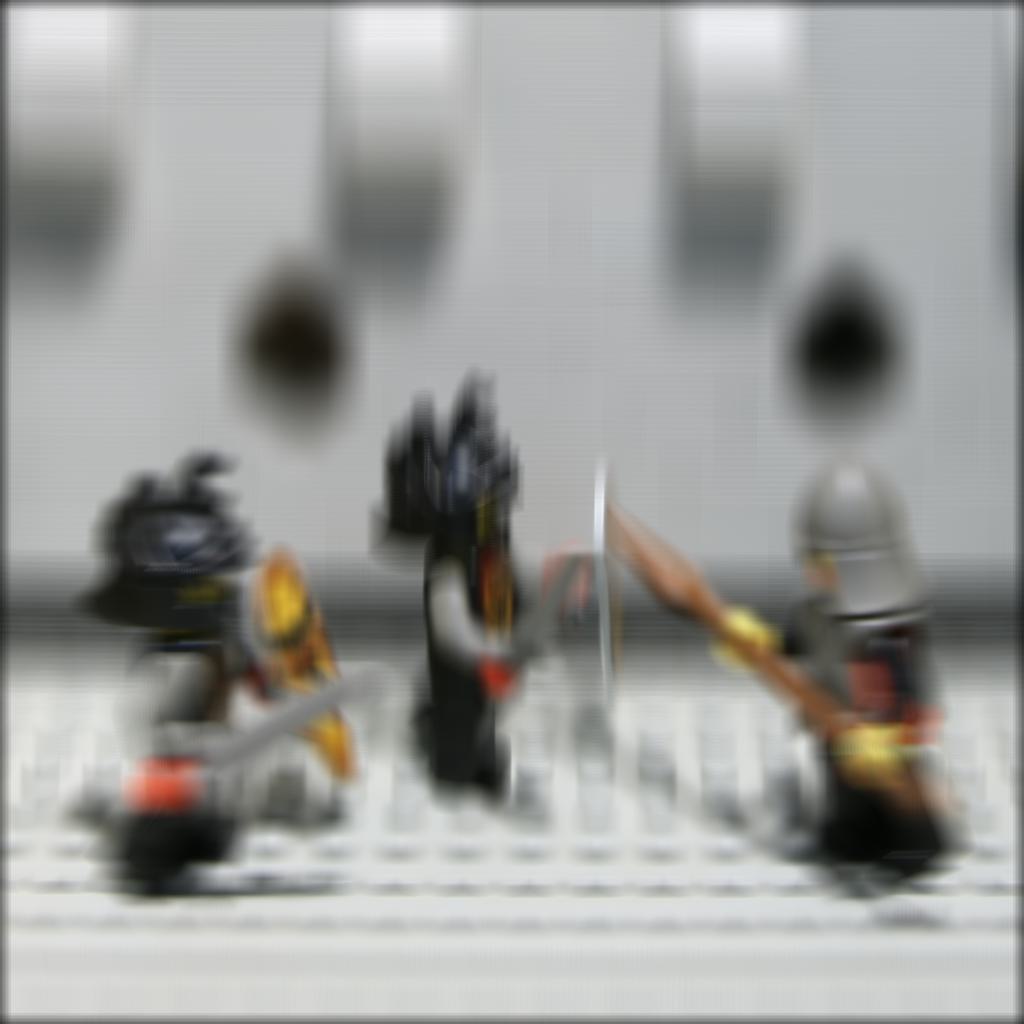
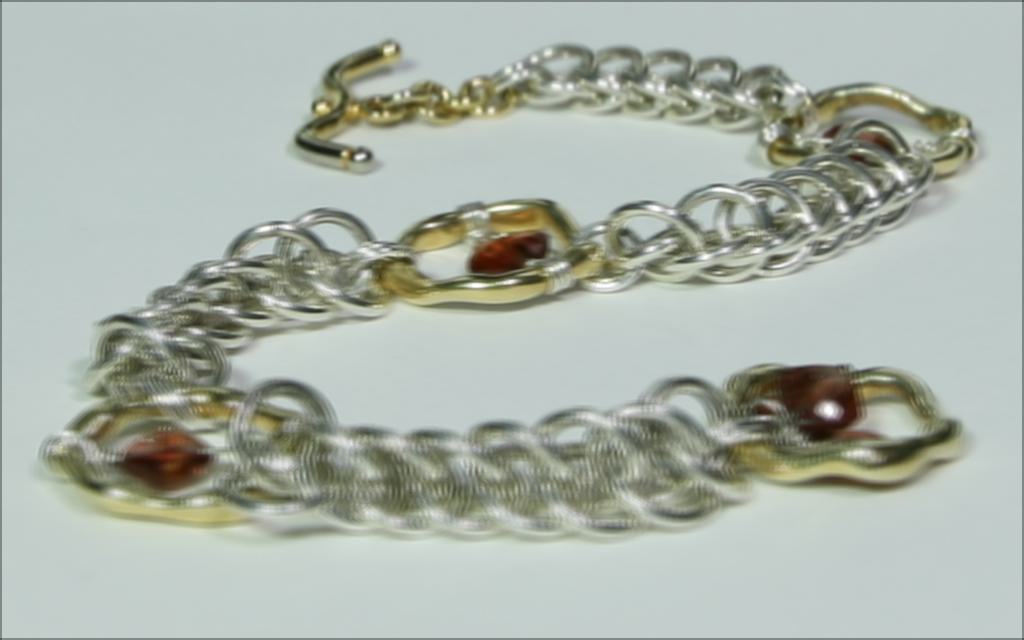
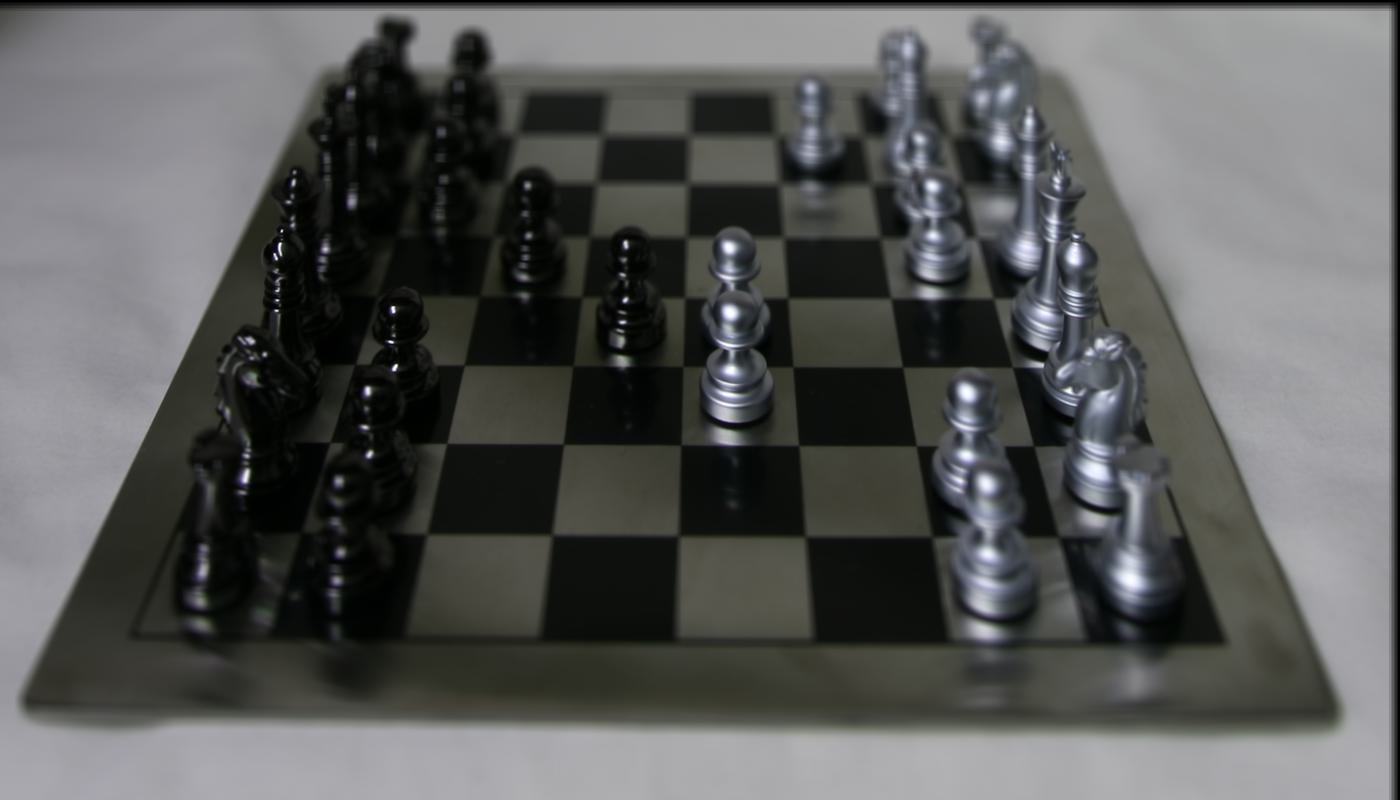
In this section I used image sets from the Stanford Lightfield Archive to obtain images that appear to have different levels of depth refocusing and aperture adjustment through simple techniques such as shifting and averaging. I also implemented interactive refocusing which allows different views from which the image is focused on to be changed.
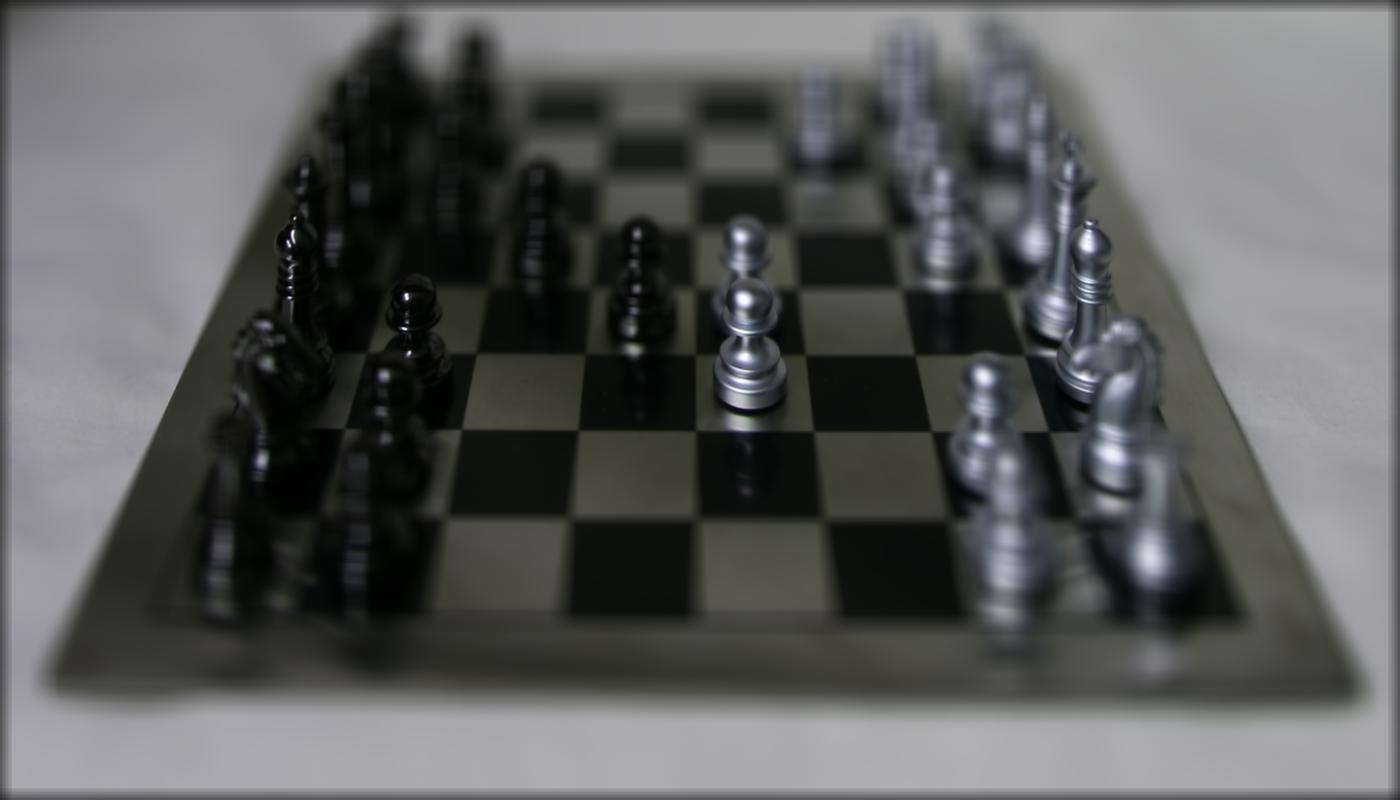
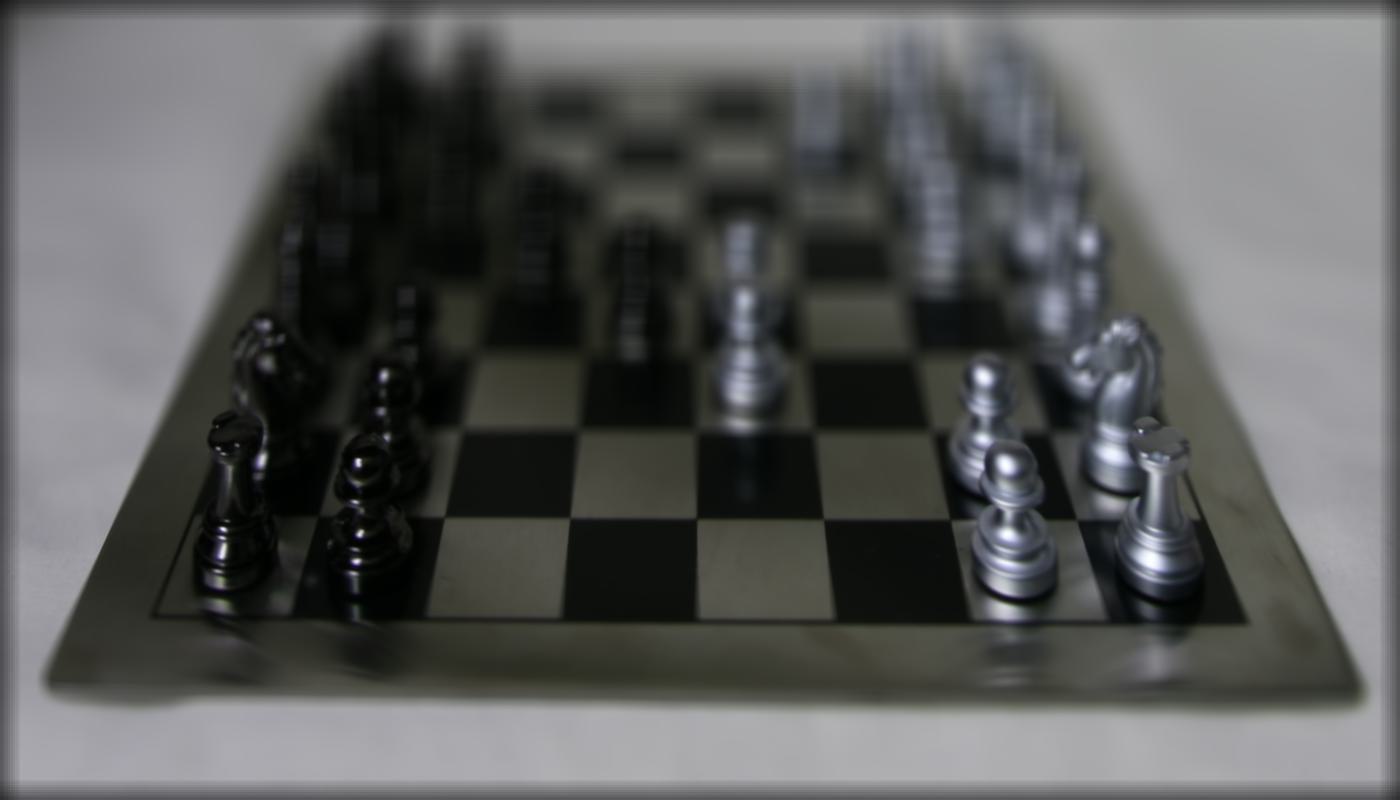
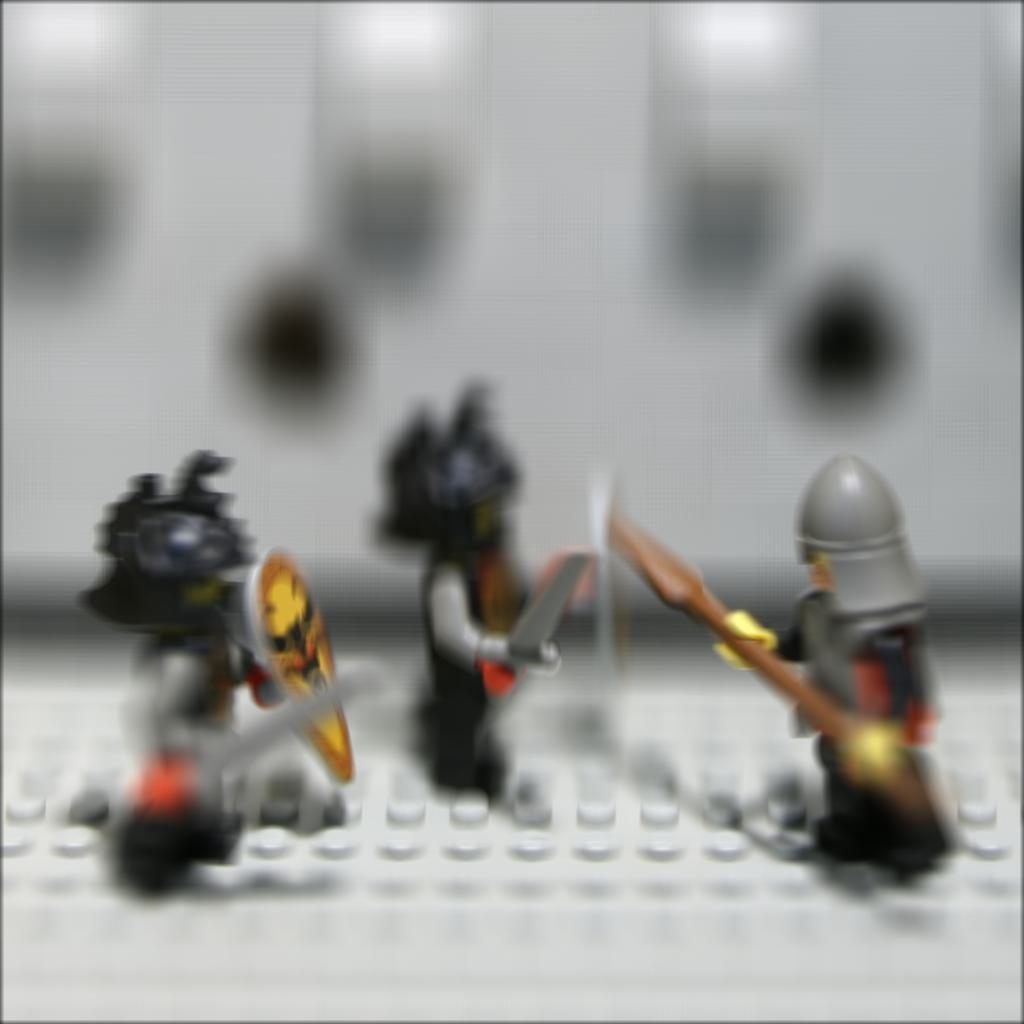
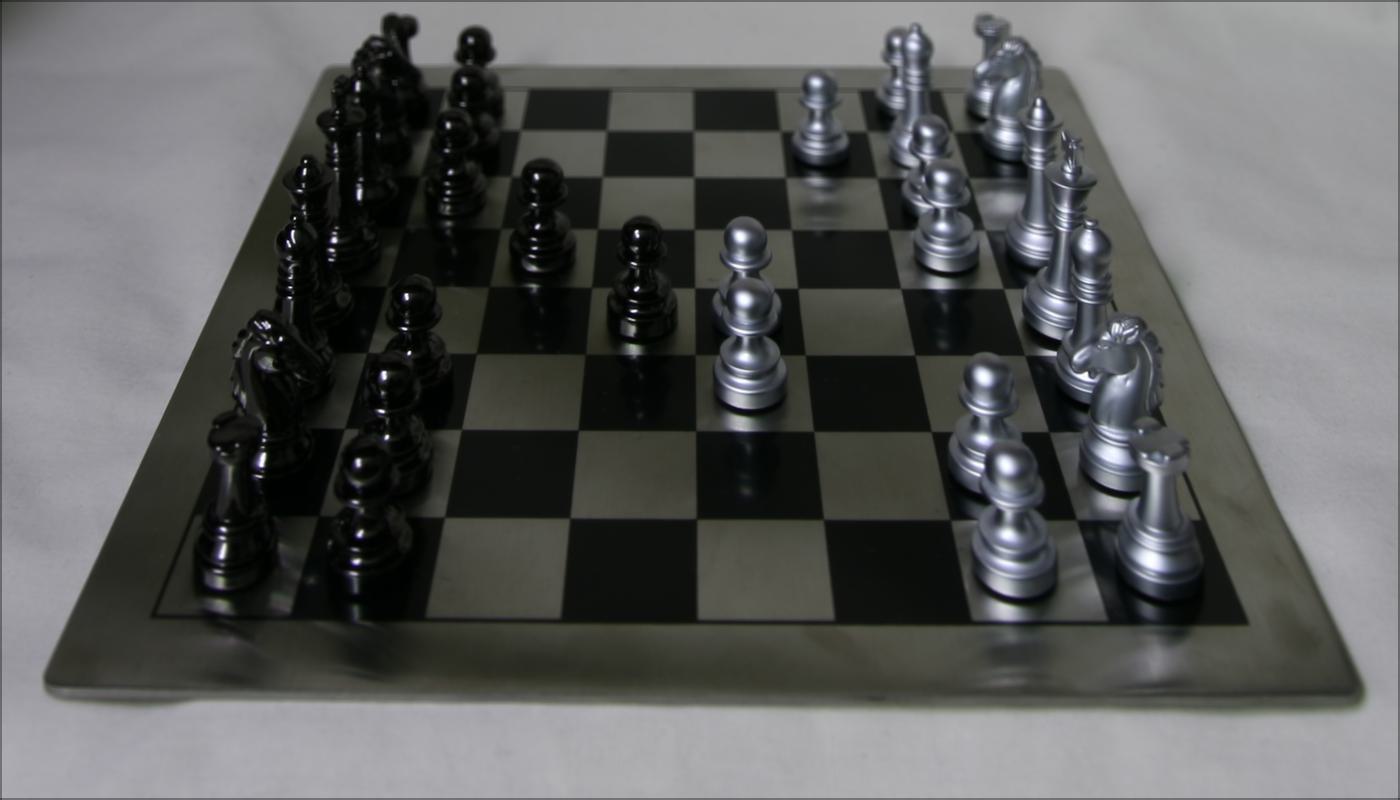
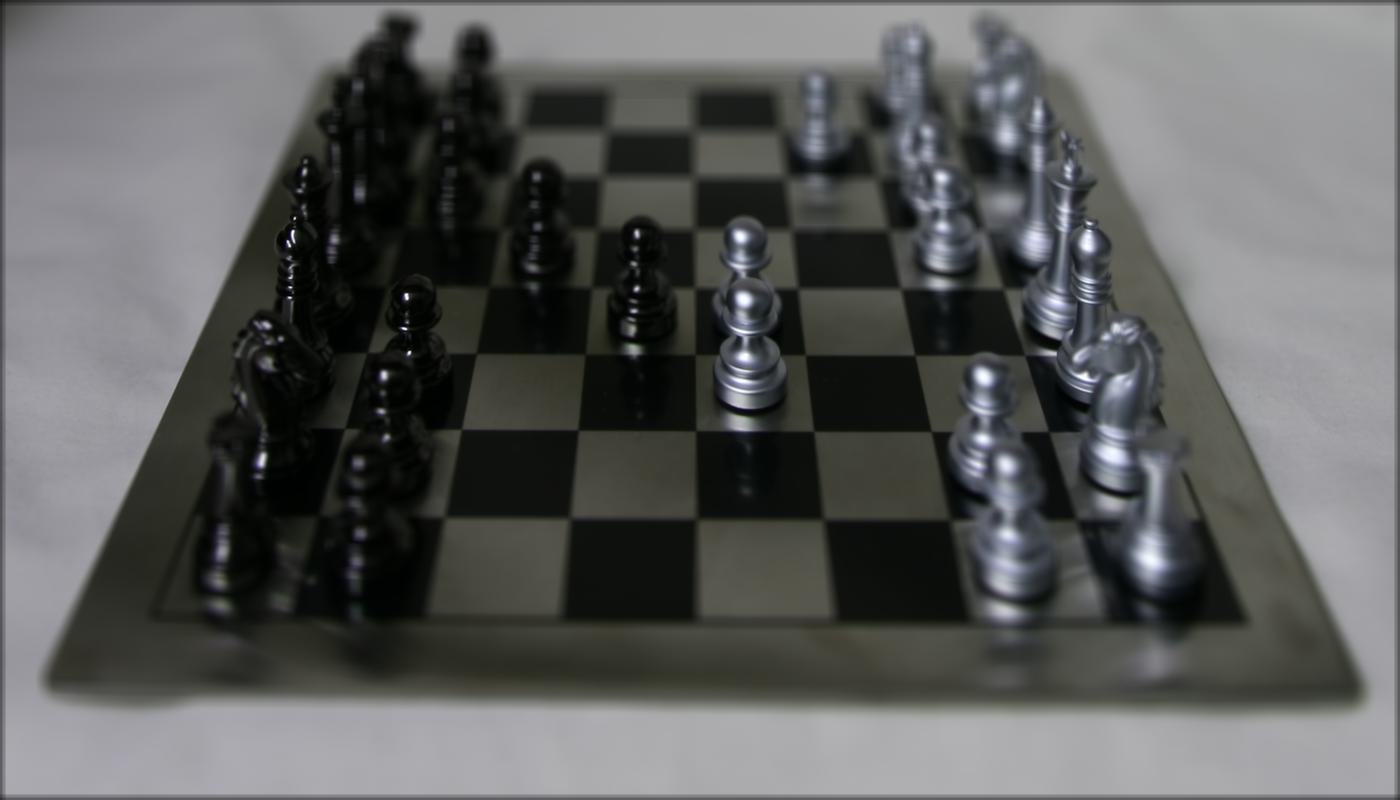
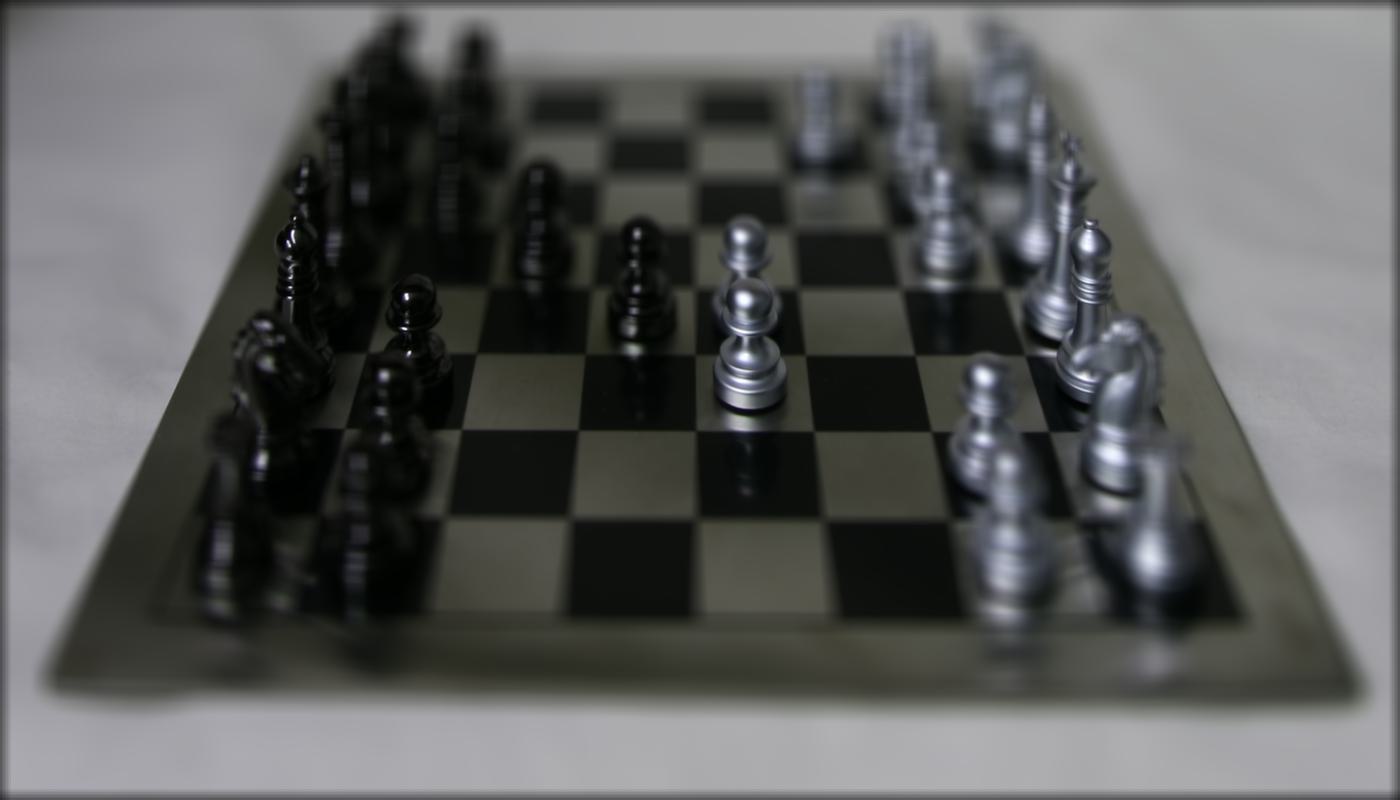
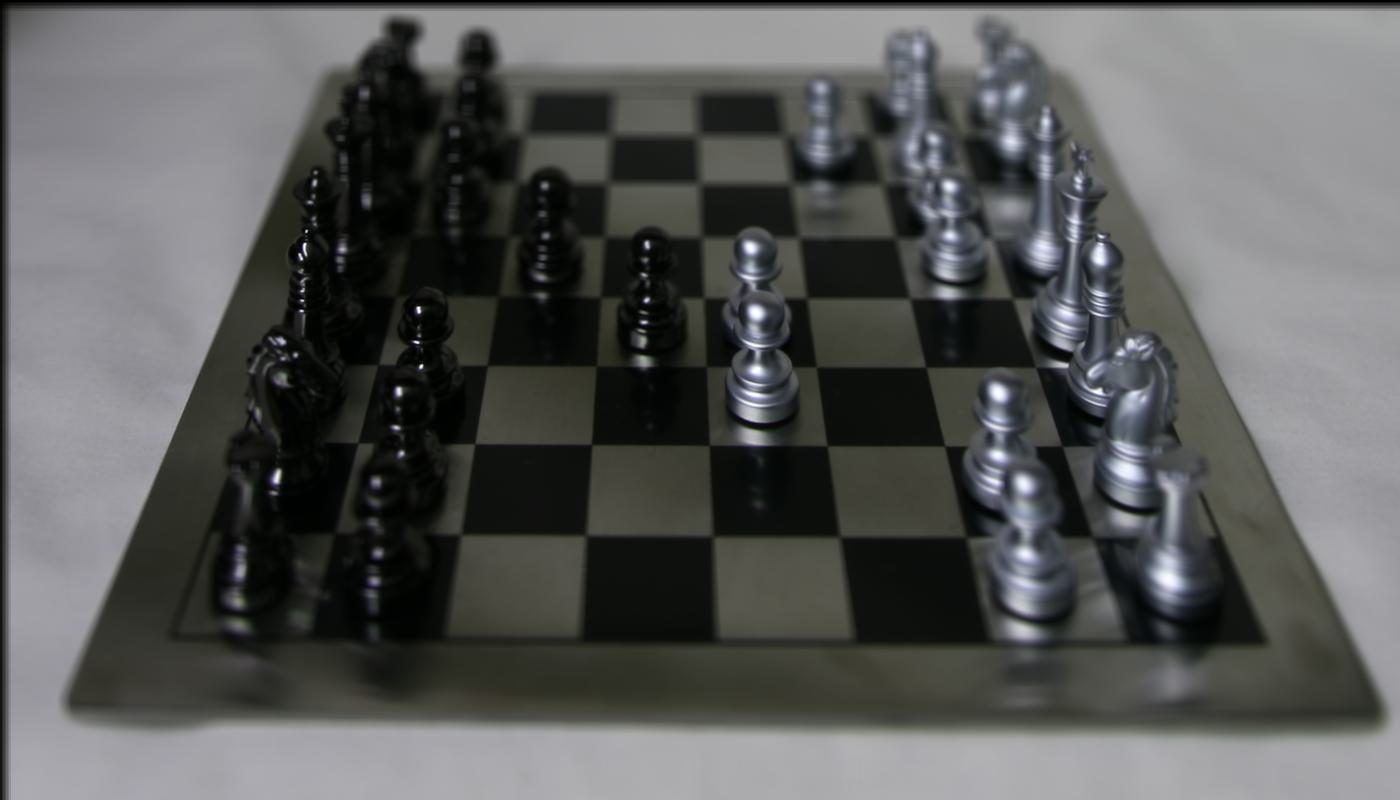
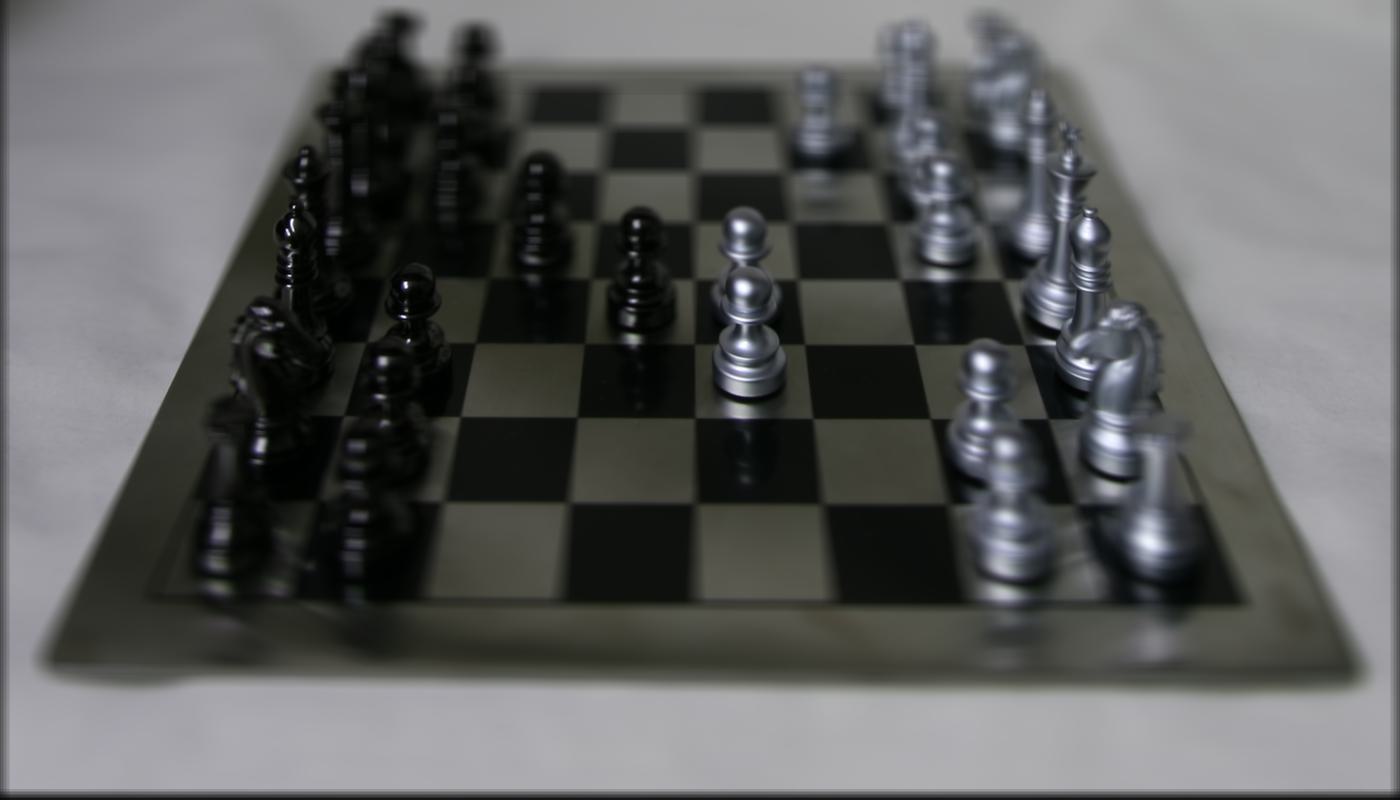
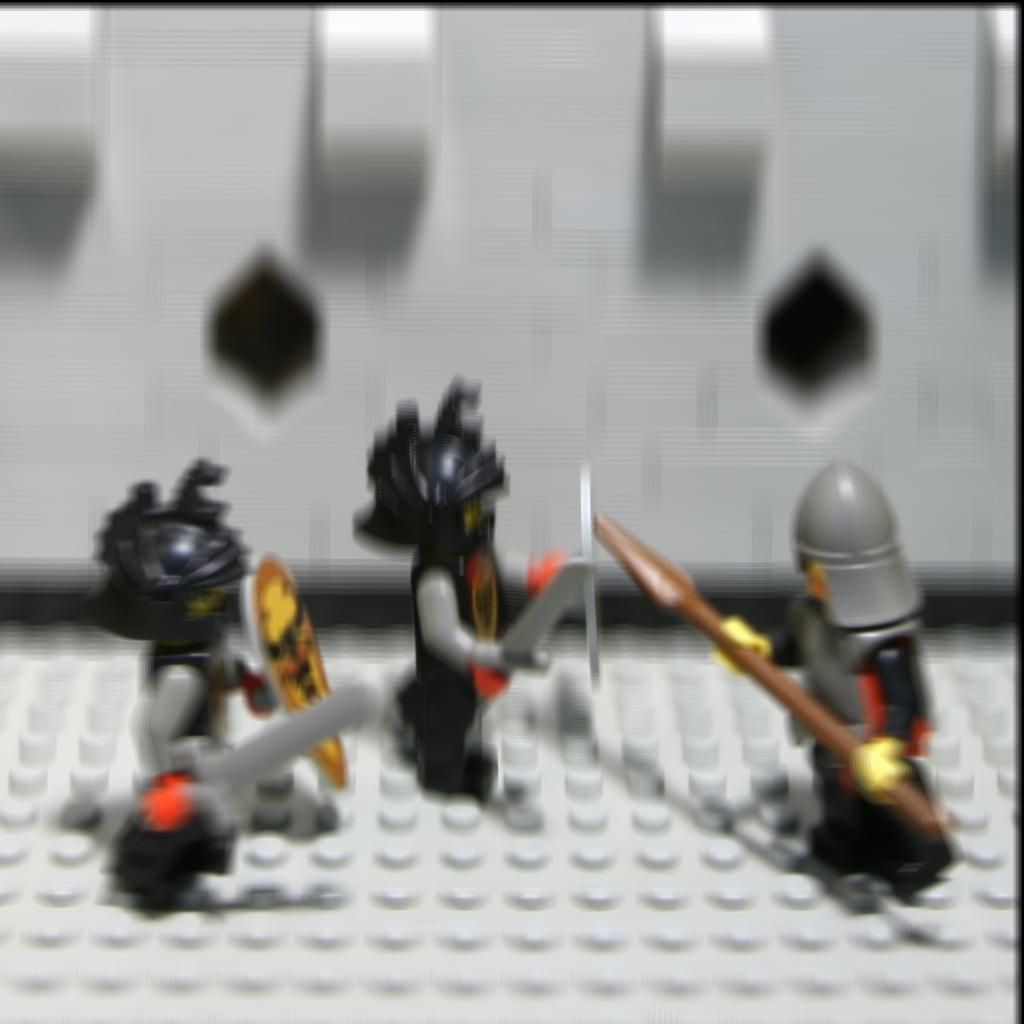
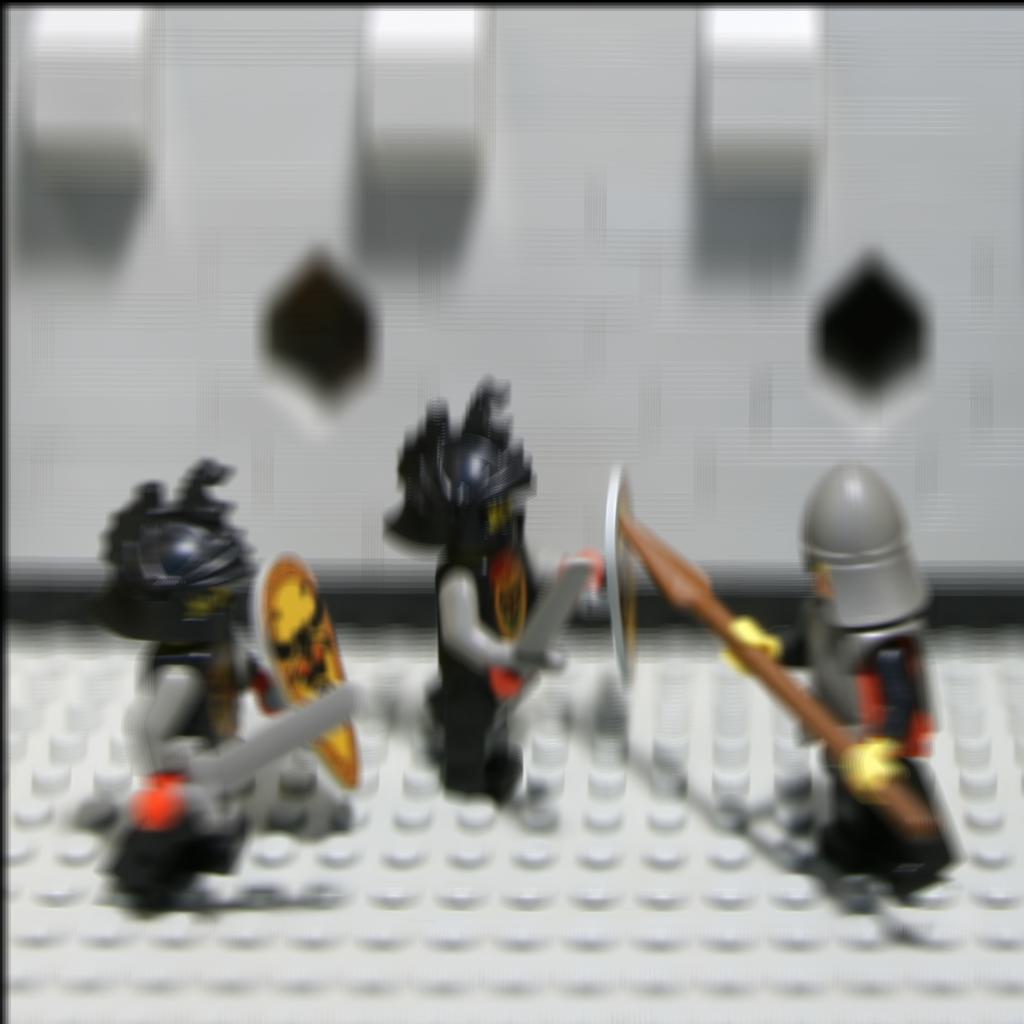
I first averaged all the images to obtain a result that focuses on fair away points, with closer points being blurrier. After that, I depth refocusing by taking the position of each image relative to the center image, obtaining an estimate of the distance from the center image by subtracting 8 (approximately half, the size in each direction, rounded down, for some reason I thought I needed to use whole numbers in this part), multiplying this result by a shift value to set how much to shift by, and then averaging all the resulting images. The larger the shift value, the closer the focus appears to be in each resulting image. The averaged images followed by the results of depth refocusing at shifts of 0.5, 1.5, and 2.5 are shown below.
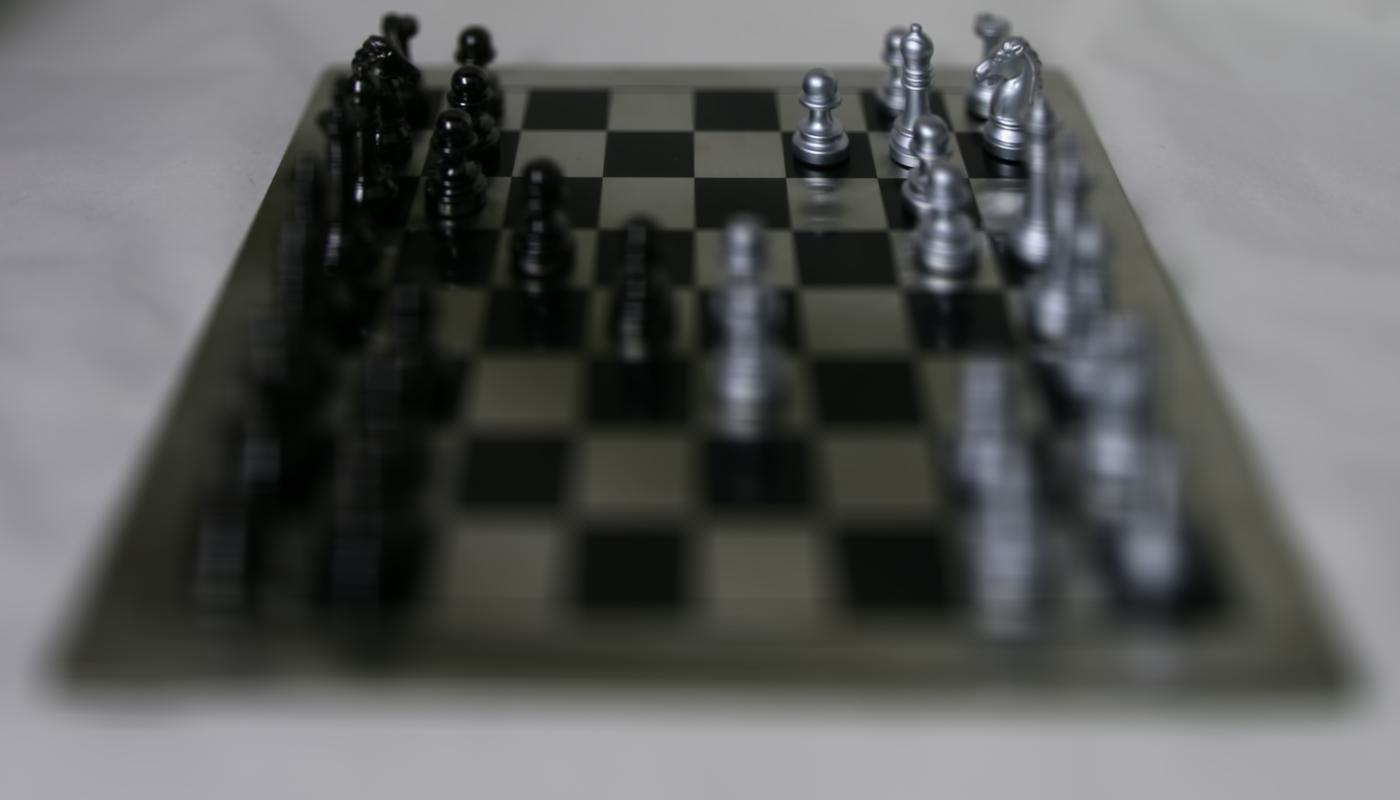
Chess Averaged Image
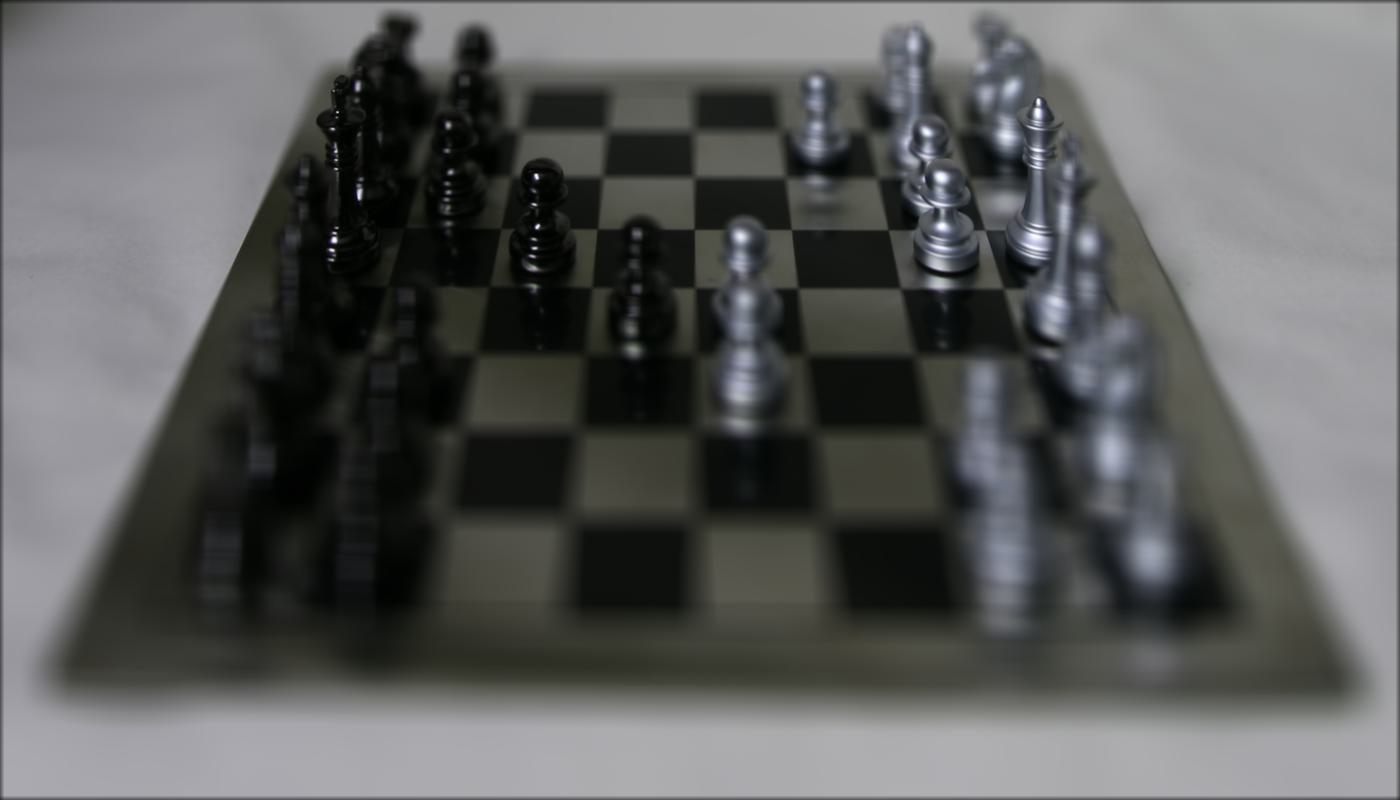
Refocused 0.5
Refocused 1.5
Refocused 2.5
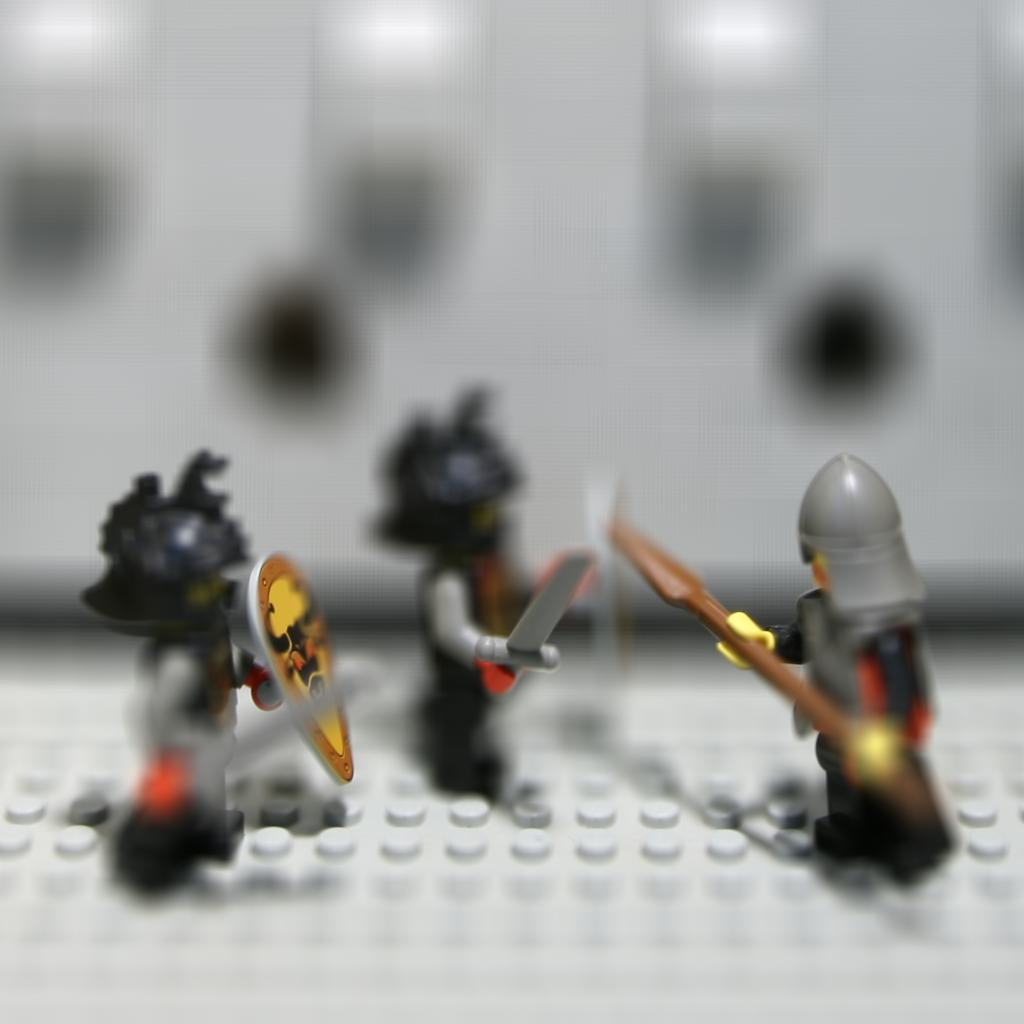
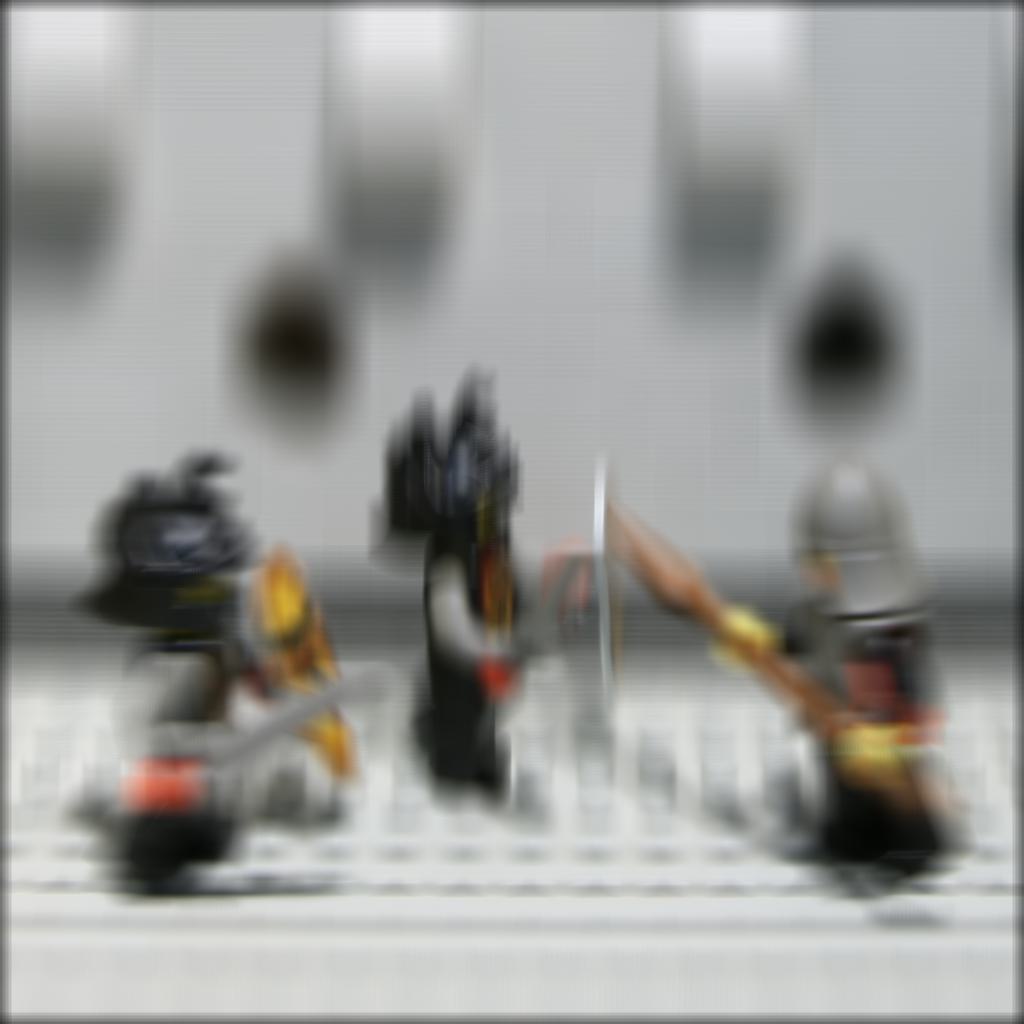
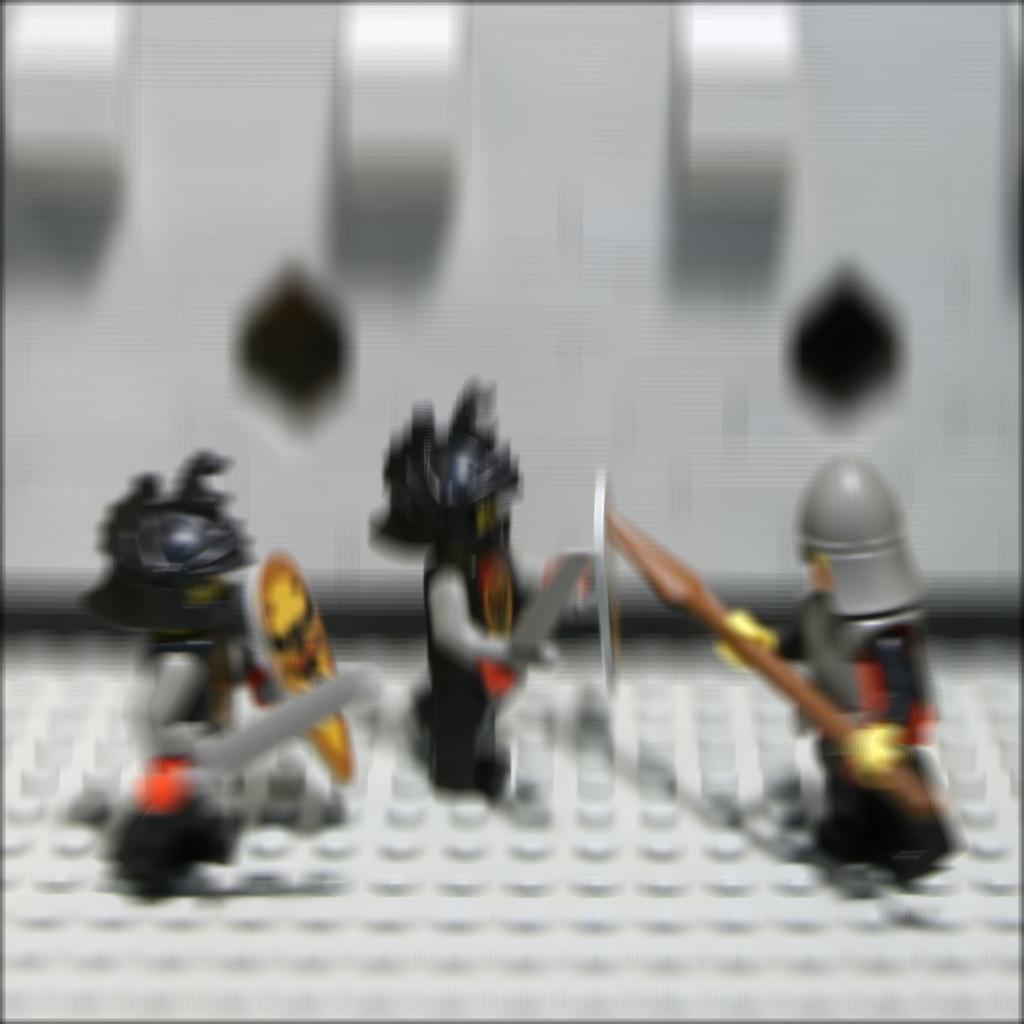
Lego Average Image
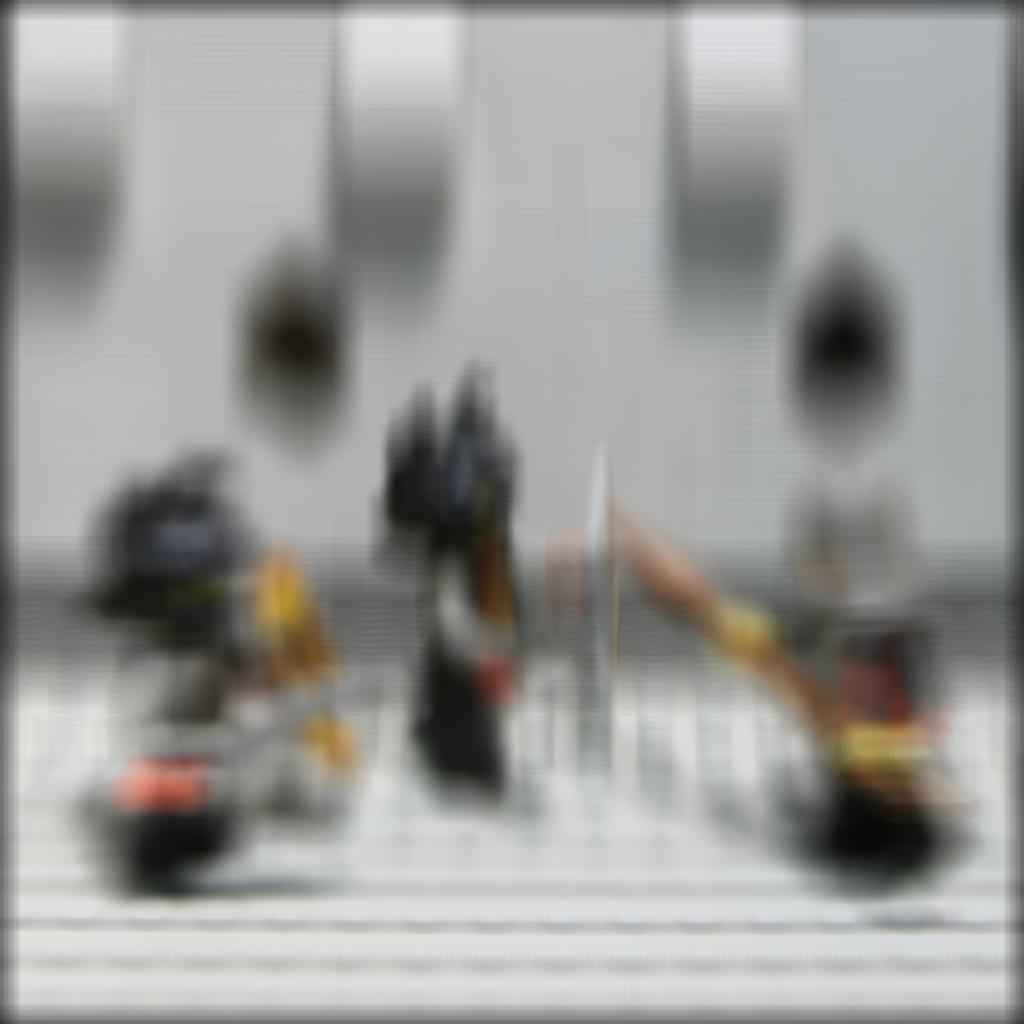
Refocused 0.5
Refocused 1.5
Refocused 2.5

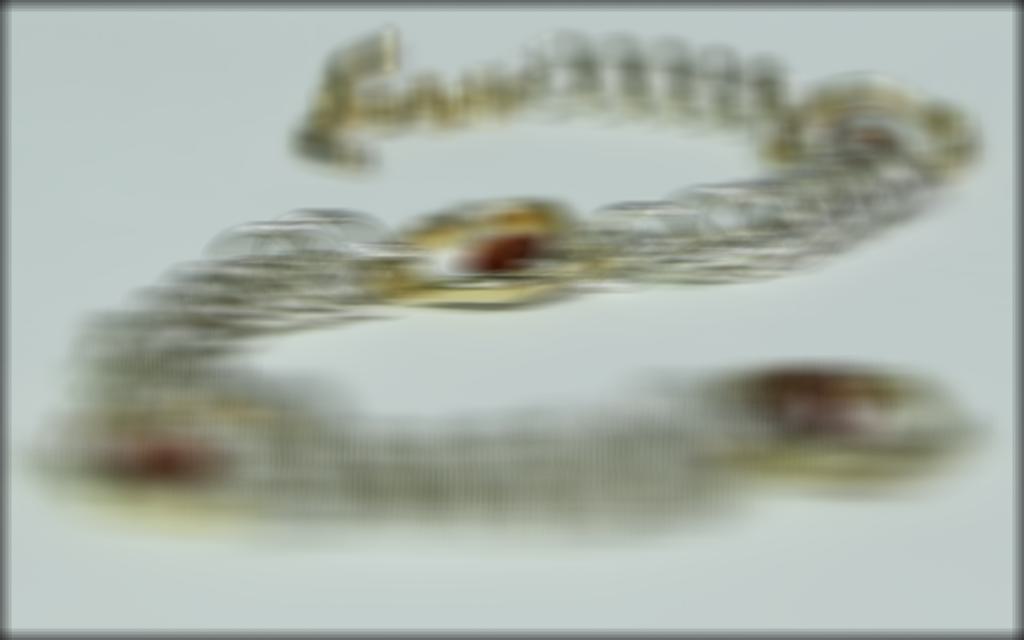
Bracelet Averaged Image

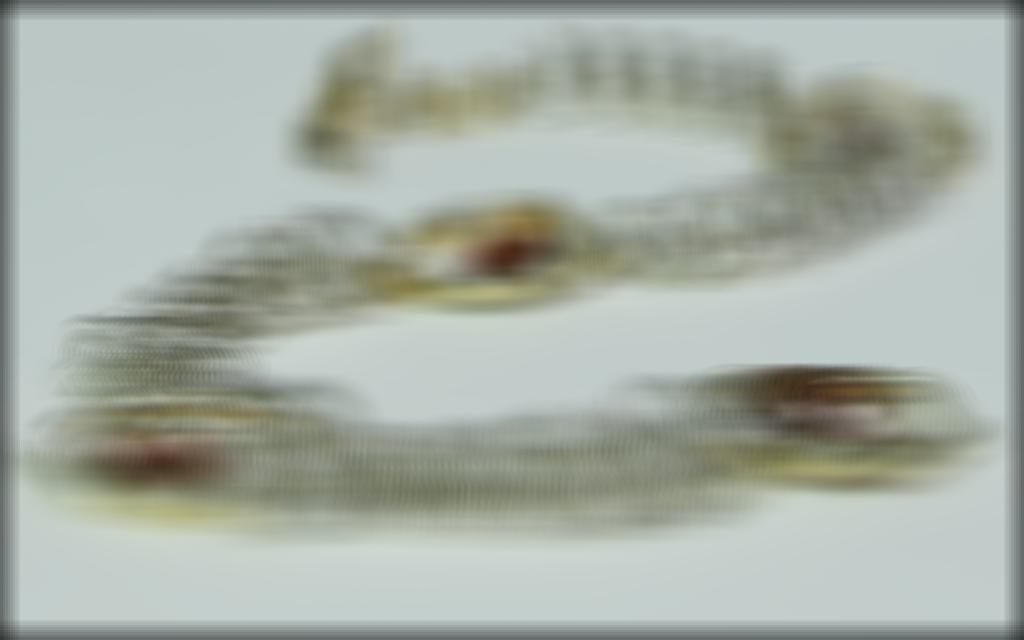
Refocused 0.5
Refocused 0.5
Refocused 0.5
Aperture adjustment was implemented by taking depth refocusing and then just selecting the images within a specified distance of the center image. This resulted in images that appeared more focused on specific parts while blurrier everywhere else as the selected maximum distance images could be at went up. The results of selecting apertures of 1, 4, and 7 are shown below, each with a depth refocusing shift value of 1.5.
Chess Aperture 1
Chess Aperture 4
Chess Aperture 7

Lego Aperture 1
Lego Aperture 4
Lego Aperture 7
Bracelet Aperture 1

Bracelet Aperture 4

Bracelet Aperture 7
Interactive refocusing was implemented by changing depth refocusing from moving each image based on distance from the center to moving each image based on distance from the selected point. By taking a point in an image and adjusting the scale to be within the scale of 17 images in each direction, the new point can be set to be a value within this range and each image can be shifted toward this new chosen point rather than the center of the center image. This allows images that look like they are from slightly different perspectives, changing the direction of the depth and the resulting focus. The adjustments are still pretty slight, but it's clear there are different perspectives. The examples shown below are perspectives from the top right, top left, and bottom middle.
Chess Top Left
Chess Top Right
Chess Bottom Middle
Lego Top Left
Lefo Top Right

Lego Bottom Middle